Anyway, this recipe is so satisfying and I wanted to share it with you.
Click here to see the recipe online!
Fried Smashed Potatoes with Lemons
(a la my very best friend, Giada. Kidding).

Potatoes:
- 2 pounds baby or fingerling potatoes
- 1/4 cup olive oil, plus extra as needed
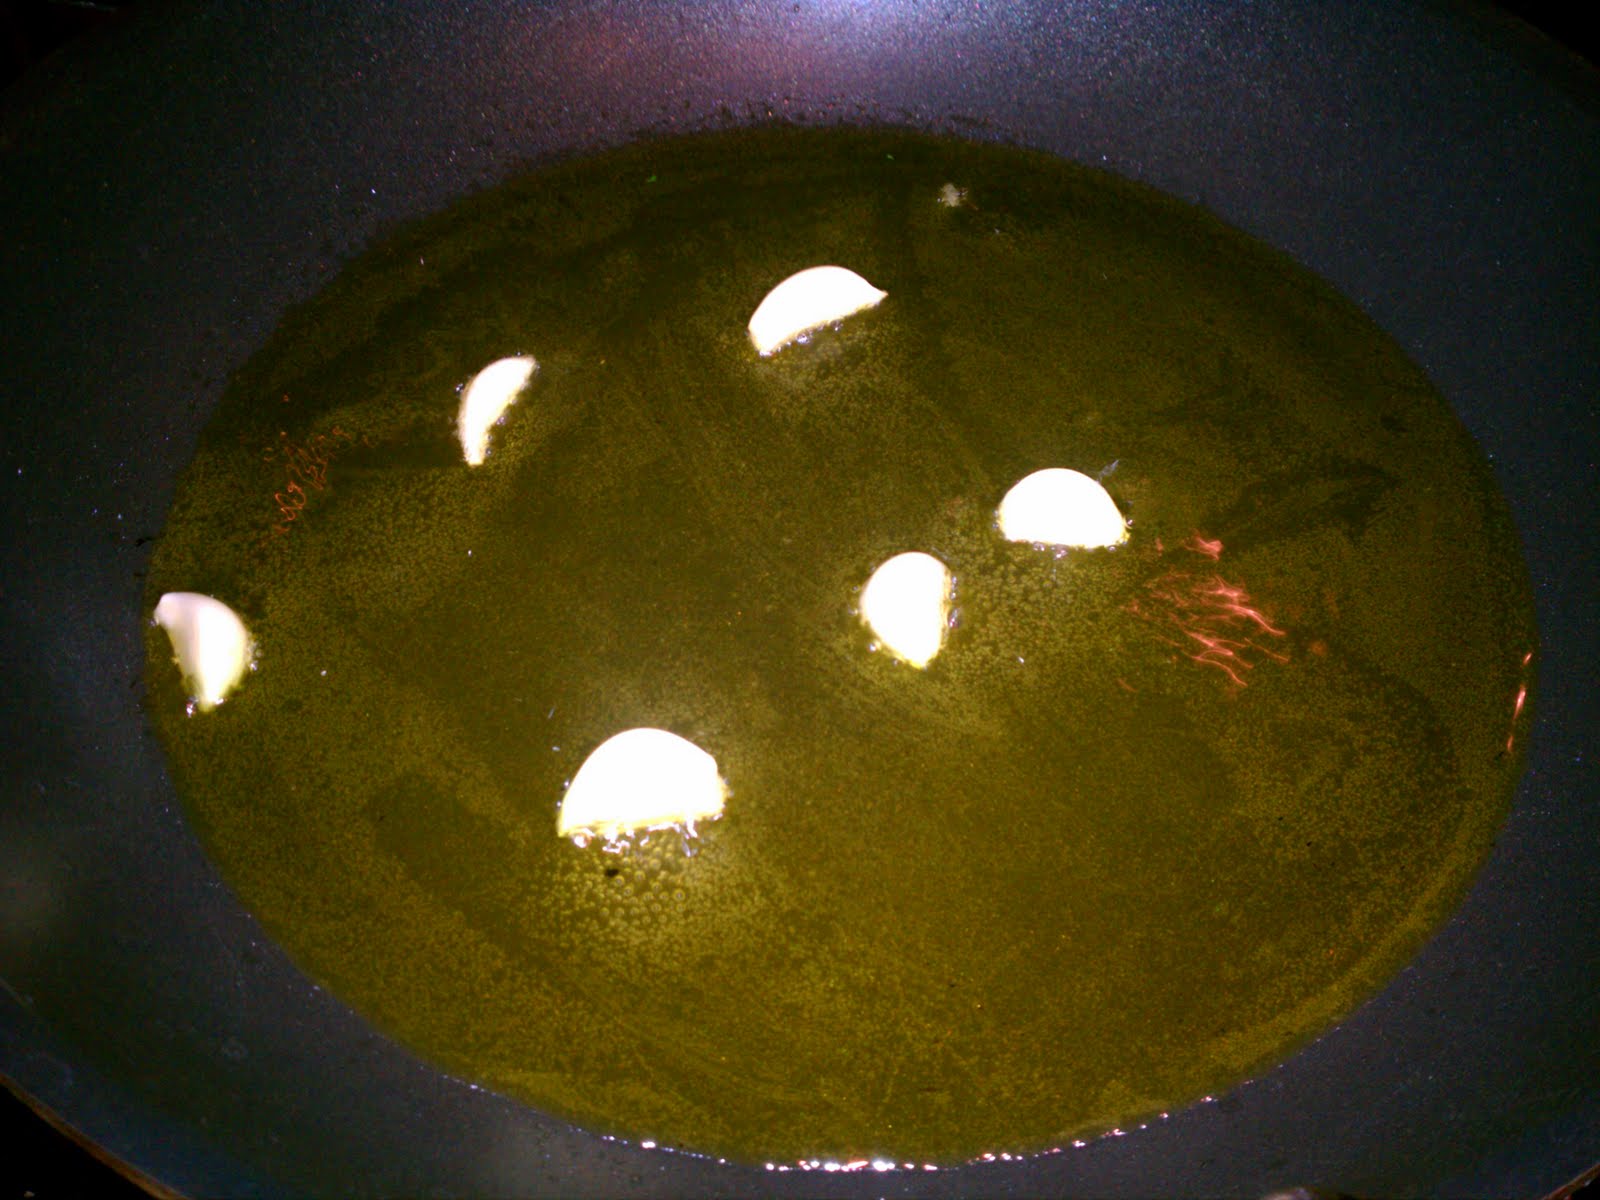
- 3 cloves garlic, peeled and halved
Dressing:
- 3 tablespoons olive oil
- 3 tablespoons fresh lemon juice
- 2 tablespoons chopped fresh parsley leaves
- 1 tablespoon chopped fresh thyme leaves
- 2 lemons, zested
- Kosher salt and freshly ground black pepper
Directions
For the potatoes: Put the potatoes in an 8-quart stockpot with enough cold water to cover by at least 2 inches. Bring the water to a boil over medium heat and cook until the potatoes are tender, about 20 to 25 minutes. Drain the potatoes in a colander and allow to dry for 5 minutes. Using the palm of your hand, gently press the potatoes until lightly smashed.
In a large, nonstick skillet, heat 1/4 cup of oil over medium-high heat. Add the garlic and cook until fragrant and lightly brown, about 1 minute. Remove the garlic and discard.
In batches, add the potatoes and cook, without stirring, until the bottoms turn golden brown, about 5 to 8 minutes. Using a spatula, turn the potatoes over and cook, drizzling with oil, if needed, until golden brown on the other side for another 5 to 8 minutes.

For the dressing: In a small bowl, whisk together the oil, lemon juice, parsley, thyme, and lemon zest. Season with salt and pepper, to taste.
Spoon the dressing over the potatoes and toss gently until coated. Season with salt and pepper, to taste.
Transfer the potatoes to a serving bowl and serve.


